A short cleaning session may be practical for light residue on accessible, reusable parts. Thick reclaim, enclosed pathways, and components with special care requirements can need more time. If you have only 10 minutes, assess the rig before starting and allow separately for soaking and drying.
This guide explains how to judge the job and complete the necessary checks. It does not report timed product tests or guarantee a cleaning time for any device.
What Counts as Cleaning Time?
Time spent handling the rig and time until it is ready to use are different measurements. For this guide, a “10-minute clean” means a hands-on cleaning budget, including necessary disassembly, emptying, cleaning, rinsing, and inspection. It excludes unattended soaking and drying, which still affect when you can use the rig again.
Hands-on time: Count the time you actively work, starting with the first cleaning action. Include repeated cleaning and rinsing.
Soaking time: Record unattended contact time separately, following the cleaner and hardware instructions.
Drying time: Allow the cleaned parts to dry as instructed before reassembly or use.
Total elapsed time: Measure from the first cleaning action until the required cleaning and drying are complete. Overlapping tasks should not be counted twice.
If the rig still needs to cool or you need to gather supplies, add that preparation time to your schedule. A short hands-on routine does not necessarily mean a short wait until reuse.
Check Whether a Quick Clean Fits Your Rig
Inspect the residue, the areas you can reach, and the parts you are allowed to clean. These checks are more useful than choosing a time target from the rig’s size alone.
Look at the Residue and Cleaning Access
Reclaim is the concentrate residue that accumulates inside the rig’s vapor path. Note whether it forms a thin film, thicker patches, or buildup around joints. Residue age provides context, but it does not by itself tell you how difficult removal will be.
Next, check whether cleaning liquid can contact the dirty surfaces and drain afterward. A simple chamber may be easier to inspect than a recycler with enclosed bends. For example, a clear main chamber can still leave you with an uninspected return tube or a dirty joint.
Confirm Which Parts Can Be Cleaned
Separate reusable, washable parts from components that require a different method. A removable component is not automatically suitable for soaking. Check the instructions for glass, coatings, seals, heating components, and electronic assemblies individually. Our dab rig materials guide provides background on materials; the model’s care instructions determine its cleaning procedure.
Use this table to plan the task. It describes practical considerations, not measured cleaning times.
What You Find
Why It Matters
Next Action
Thin residue in accessible, reusable glass
The dirty areas may be easier to contact, rinse, and inspect.
Follow the routine-care method; check the result before calling the job complete.
Thick or hardened reclaim
Additional contact time or repeated cleaning may be necessary.
Allow more time within the care instructions rather than scrubbing harder.
Narrow, enclosed, or hard-to-drain pathways
Tools, inspection, or liquid removal may be restricted.
Check the model-specific procedure and account for areas you cannot see.
Powered, disposable, coated, or unfamiliar components
Reusable-glass cleaning methods may not apply.
Confirm the manufacturer’s instructions before exposing the component to liquid or solvent.
How to Clean Reusable Parts
Use the method specified for your hardware and cleaning product. The sequence below organizes the job without prescribing a solvent concentration, water temperature, or soaking duration for every material.
Prepare the Parts and Cleaning Area
Let the components cool completely. Switch off and disconnect powered equipment where applicable, then separate the parts that can be washed from those that must remain dry. Gather the specified cleaner, suitable swabs or brushes, rinsing supplies where required, and a stable place for drying.
Keep cleaning away from ignition sources. A formulated cleaner’s properties depend on its composition, so follow its label and safety data sheet, including ventilation guidance. Do not heat cleaning solvents or mix cleaning chemicals.
Clean, Inspect, Rinse, and Dry
Disassemble and empty as instructed. Remove only parts intended for user removal. Keep batteries, charging ports, and other non-washable components out of the washing process.
Apply the specified cleaner. Follow the amount and contact time on the relevant instructions. Do not add salt or another abrasive unless the care method permits it.
Agitate or swab where permitted. Use gentle movements and an appropriate tool on reachable surfaces. If a brush will not fit through a neck or joint, do not force it.
Inspect the residue-prone areas. Check the chamber base, joints, bends, and other visible pathways under good light. If residue remains, use the troubleshooting guidance below before choosing the next step.
Complete the required rinse. Follow the cleaner and hardware instructions, including how to remove cleaning liquid from washable pathways.
Dry and reassemble as directed. Check areas that may retain liquid. Finish the required drying process before reassembly or use.
If the instructions require more contact time than you have available, reschedule the task rather than shortening the process to meet a 10-minute target.
What to Do If Residue Remains
Remaining marks call for another assessment. Repeating the same cleaning cycle is not always the right response, especially when the cause of the mark is uncertain.
Oily Film, Cloudy Marks, or an Unclear Cause?
Amber or oily-looking residue may need another cleaning cycle or a longer soak if the instructions allow it. White spots or cloudiness may have a different cause. The USGS explanation of water hardness describes how mineral-rich water can leave deposits on glassware, but appearance alone cannot identify a particular mark.
For example, if the oily film disappears but a white patch remains, do not automatically increase the solvent strength or add another chemical. Check the material guidance and ask the manufacturer about the appropriate next step. For background on water choice, see our guide to water types for dab rigs.
When to Pause and Ask for Help
Pause if you cannot confirm material compatibility, cannot inspect or drain a pathway using the specified method, or notice an unfamiliar surface change. Take a clear photo and describe the part, cleaner, and steps used when contacting the manufacturer. Do not scrape harder or combine cleaners to resolve an uncertain problem.
Check Completion Before Reuse
Clear-looking glass is one check, not proof that every cleaning requirement has been met. Before reassembly or use, confirm:
The cleaning method was suitable for each component.
Visible reclaim in the inspected areas has been addressed.
Unexplained marks or inaccessible areas have been resolved through the care instructions or manufacturer support.
Required rinsing and cleaning-liquid removal are complete.
All parts have completed the specified drying process.
Reassembly follows the model’s instructions.
A visual inspection cannot establish that a part is disinfected or free of all chemical residues. Complete the specified care procedure even when the glass already looks clear.
Make Future Cleaning Easier to Plan
Build routine care around the areas where your rig collects residue. If the same joint repeatedly needs attention, include it in your regular inspection rather than checking only the main chamber. Follow the manufacturer’s maintenance schedule; a water rinse alone may leave oily reclaim behind.
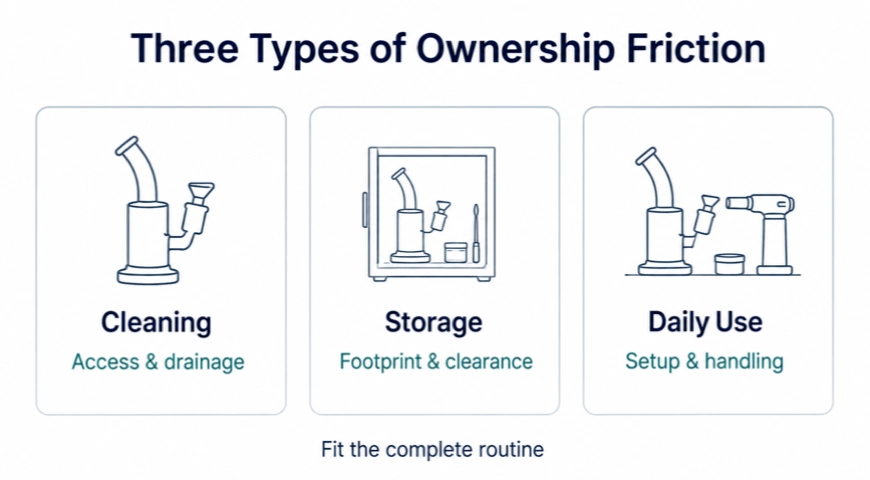
If you are choosing another rig, ask whether you can see the residue-prone areas, reach them with suitable tools, and drain the washable pathways. Our dab rig size and everyday ownership guide explains why dimensions should be considered alongside the complete maintenance routine.
How to Record Your Cleaning Time
If you want a useful record for future planning, photograph the same areas before and after cleaning under consistent lighting. Note the part or model, residue location, cleaner and concentration, liquid amount, tools, and any repeated cycles. Record hands-on work, soaking, drying, and total elapsed time separately.
When comparing rigs, use a compatible care method for each one and disclose differences. The same liquid amount or tool may not suit different chamber sizes and materials. A single cleaning attempt can describe that job; it cannot establish a universal speed ranking.
Frequently Asked Questions
Can Every Dab Rig Be Cleaned in 10 Minutes?
No. Residue, cleaning access, material restrictions, and required soaking or drying all affect the task. Use 10 minutes as a planning budget, not a completion guarantee.
Does Soaking Count Toward Cleaning Time?
Yes, it counts toward total elapsed time. Record unattended soaking separately from hands-on work so a short active routine does not hide a longer wait.
Does a Smaller Dab Rig Always Clean Faster?
No. A small rig can still have narrow openings, enclosed bends, or components with restricted cleaning methods. Inspect access and drainage rather than relying on size.
Can I Use the Same Cleaner on Every Component?
Only if the instructions confirm compatibility for each part. A method suitable for plain reusable glass may be unsuitable for coatings, seals, heating components, or electronic assemblies.
Why Does the Glass Still Look Cloudy?
Cloudiness can have different causes, including mineral deposits. Do not assume every mark is reclaim. Check the material and cleaning instructions before changing methods.
When Is the Rig Ready to Use Again?
After the required cleaning, rinsing, drying, and reassembly are complete. If liquid remains in a pathway or you are unsure whether a part has been cleaned correctly, resolve that before reuse.
Sylph Wu Sylph Wu is the digital marketing manager at Artrix. In the cannabis vaporization sector, she has honed her expertise in social media management, SEO optimization, paid advertising, and EDM campaigns. By blending her passion for cannabis culture with strategic marketing efforts, Sylph has driven Artrix’s brand visibility and consumer engagement in line with market trends.